FO: Handspun Toe-Up Socks
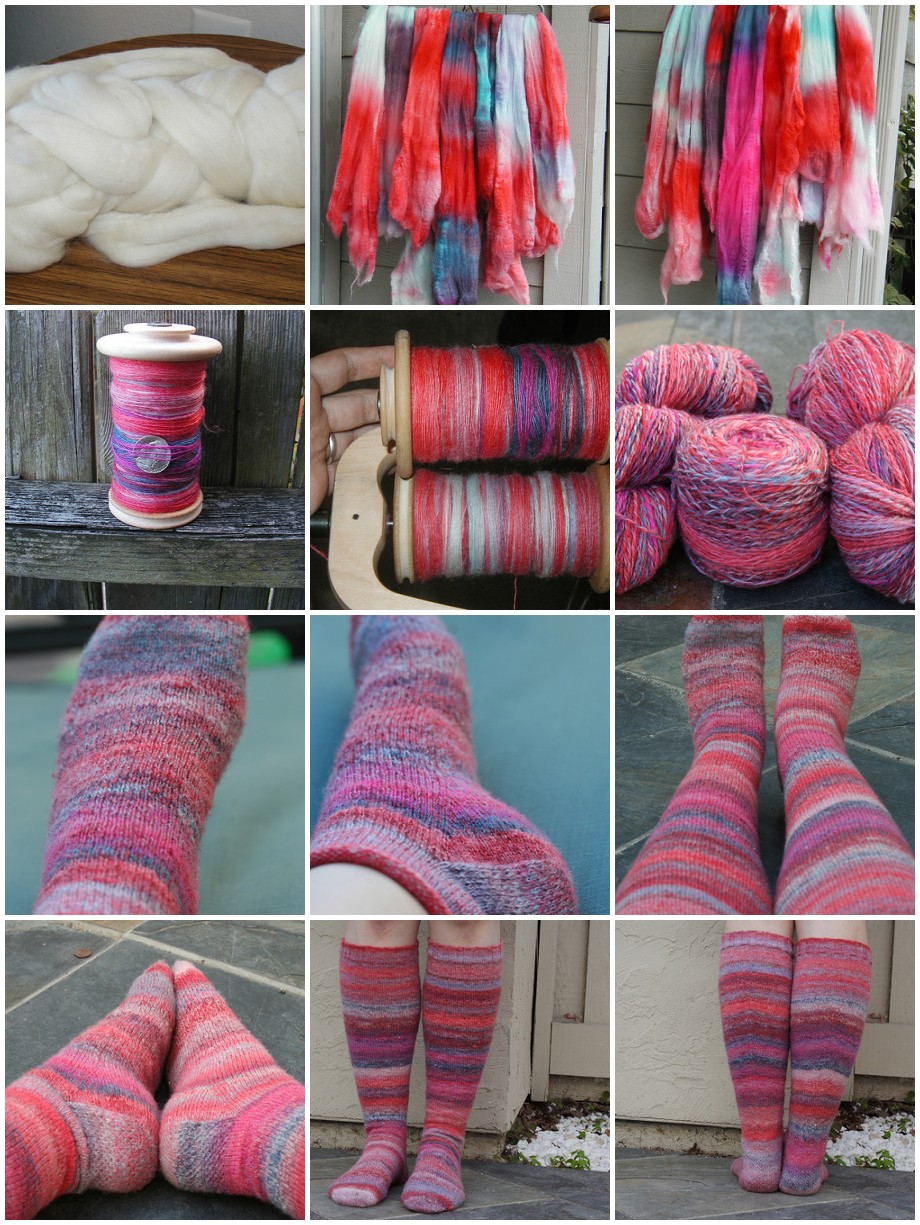 The knee socks were finally finished a couple of weeks ago! Rav link. Here's the photo set of the entire process- dyeing, spinning, and knitting. This is the 8 oz of Blue-faced Leicester I got at the Kid n Ewe fiber festival in Bourne, TX in 2006. I dyed the roving with Kool-Aid and Easter egg dyes, and spun it into a 3-ply yarn. I don't have the WPI, but it's 17-18.5 sts/2", 26-28.5 rows/2" on a size 0(US) needle.
Here's the notes on the toe-up construction and shaping. This was my first time doing toe-up socks, and it was fun. No picking up stitches, and I could start small and increase until it fit, instead of having to guess the number of stitches to cast on when starting at the cuff. (No, I don't swatch for socks. That's silly. The first few inches of the sock is the swatch.)
Judy's magic cast-on about 12 stitches. Increased 4 stitches every other row in the usual manner until I reached 64. When that got too snug, I increased 2 stitches every few rows until I reached 72.
For the gusset (when the foot starts to get even bigger, in this case 6 3/4 inches from heel) I increased 2 stitches every other row until there were 100 stitches (36 for instep, and now 64 for the heel).
I used this tutorial from Becca on her blog, Forward Motion, for the math on the short row heel turn. Basically you work 4 pairs of short rows, increasing at the beginning of every row, on 8 sts fewer than half the number of stitches before you started gusset increases (28 in this case).
There were 36 stitches in this section after the short rows were finished (28 + 8 = 36).
I worked the heel flap in eye of partridge stitch. On every row of the heel flap, you work the last stitch together with one of the stitches from the gusset increases that had been waiting patiently while you did the short rows. This is sort of analogous to the part where you pick up stitches in a top-down pattern, except there's no picking up stitches! Yay! For the sake of anyone who's trying to check the math, there were 18 stitches waiting on either side of the short row heel turn, so 36 heel flap rows were needed. This is the same as the general math for top-down socks. Heel flap rows = heel flap stitches = 1/2 total stitches.
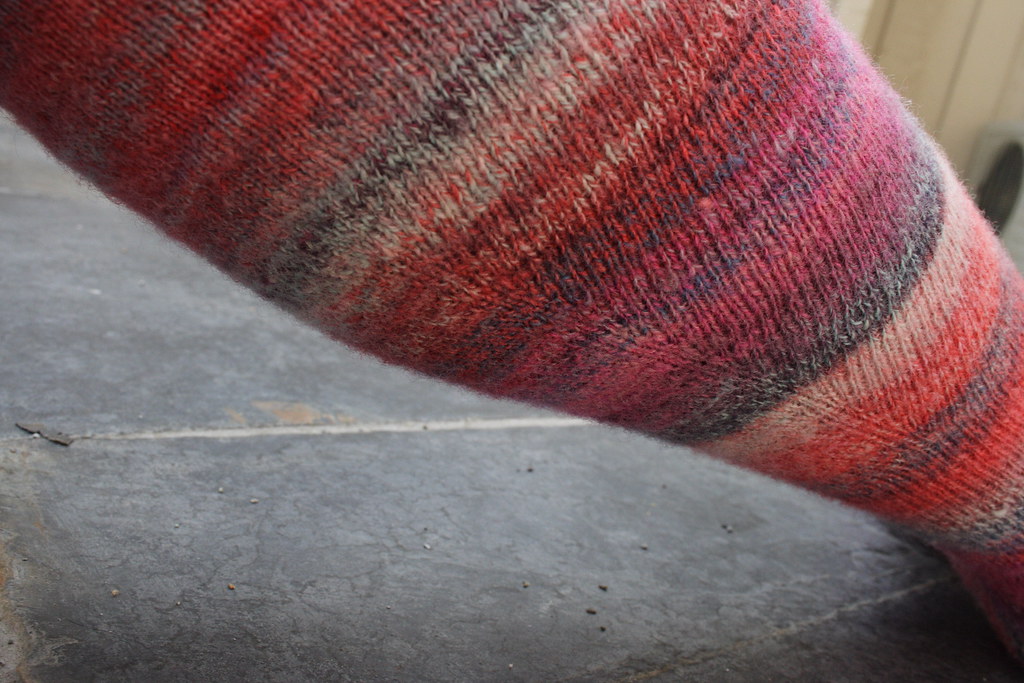
After the heel flap there were again 72 stitches. I worked even for about 4 1/2 inches (until the point where the bottom of the calf really starts to necessitate increasing). I worked increases on e
 ither side of the 2 center back stitches every 4th row until I reached 124 stitches. (about 14 inches from the floor).
I worked even until just below the knee (3.25 inches from end of increases), decreased 4 stitches, and worked 4x4 ribbing for 1 inch. I bound off somewhat loosely in the normal manner for ribbing. Some people may need to use a stretchier bind-off method
 . I think the rate of calf increases (2 stitches every 4th row) should probably work for most people. We all use the same rate of gusset increases, right? You can always calculate your own rate of increases by finding the difference between your calf and high ankle measurements, calculating how many stitches need to be increased, and measuring the vertical distance to see how many rows you've got to increase over. Sort of like this, but upside down and without so much shaping between the calf and knee.


Comments